Installing Curtain Rods
You have just received your set of pre-made curtains. Or perhaps you are a happy owner of custom made curtains that exactly match the style of your room and the color of the carpet. Everything looks nice and promising but you fear the process of installing curtain rods. You are not good at hand work and, truly speaking, you would highly appreciated if Superman entered through your window or door and offered his help to set up your curtains.
Fear not! Installing curtain rods is not that difficult and, in fact, as long as you have purchased a curtain hardware set that matches your curtains and home decor, including curtain rods, it should only take you between 20 and 30 minutes to learn how to install curtain rods yourself.
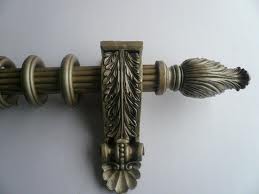
Even if you don’t have DIY curtain rods, putting up curtain rods yourself is a relatively easy task as long as everything has been purchased, and you have your toolbox at your side. You will need a number of items, many of which were included in your curtain hardware set: the rods, screws, anchors, fasteners, measuring tape, pencil and a flat or Philips screwdriver, depending on the screws included. Of course, you will also need the brackets that attach the curtain rod to the wall. You will want a power drill to assist you during the process of screwing the brackets onto the wall. Not necessarily to fasten them in place, but more importantly you’ll need to start a screw hole into the wall, especially if it’s going into a stud.
Before installing the curtain rods, you should make sure that you have measured properly the height and width of the rod and determined exactly where the brackets will go down to the centimeter. If you do the things right from the beginning, the final result will be.
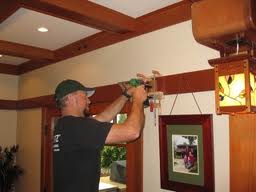
Once you have established exactly where the brackets will be positioned, as well as the screws, pre-drill the holes with the screwdriver about 1 inch into the wall. As you can see, there is no hidden science in installing curtain rods.
After pre-drilling the holes, ensure that the bracket is securely positioned against the wall while you screw it into place. Once the first bracket is in place, move onto the next one and repeat the procedure.


